Control-Terminal
Run local AI agents with a web terminal using tmux + ttyd. Control Claude, Codex, or any CLI agent from your mobile phone.
How It Works
Three proven tools combined into one smooth workflow for AI-agent sessions.
tmux
Session Persistence
Your agent keeps running on your machine even if your phone disconnects, screen locks, or the network changes. Reconnect anytime.
ttyd
Browser Access
Turns your terminal into a web UI you can open from any device. Interact with the exact tmux session, not a separate shell.
cloudflared
Remote Access
Gives you a shareable public URL instantly without manual router or NAT setup. Access your agent from anywhere.
Step-by-Step Walkthrough
From install to controlling an AI agent on your phone in under a minute.
Install Control-Terminal
Run the one-line install command. It downloads the script, installs dependencies (tmux, ttyd), and adds control-terminal to your PATH. You are ready to go in seconds.

Choose Your Agent and Launch
Run control-terminal, pick an agent (Codex, Claude, or custom), and optionally enable the Cloudflare tunnel for remote access. The tool starts a tmux session, launches ttyd, and prints your local and public URLs.

Access from Desktop Browser
Open the generated Cloudflare tunnel URL in any desktop browser. You get a full interactive terminal session with your AI agent running live. Give it tasks, approve commands, and watch it work.

Control from Your Phone
Open the same URL on your mobile phone. The terminal is fully interactive: type prompts, approve actions, and manage your agent from anywhere. If your connection drops, reconnect without losing progress.

Real Results on Your Machine
Everything the agent does happens on your local machine. Files are created, code is executed, and changes persist. Here the agent created a Python file that is visible in the local file explorer.

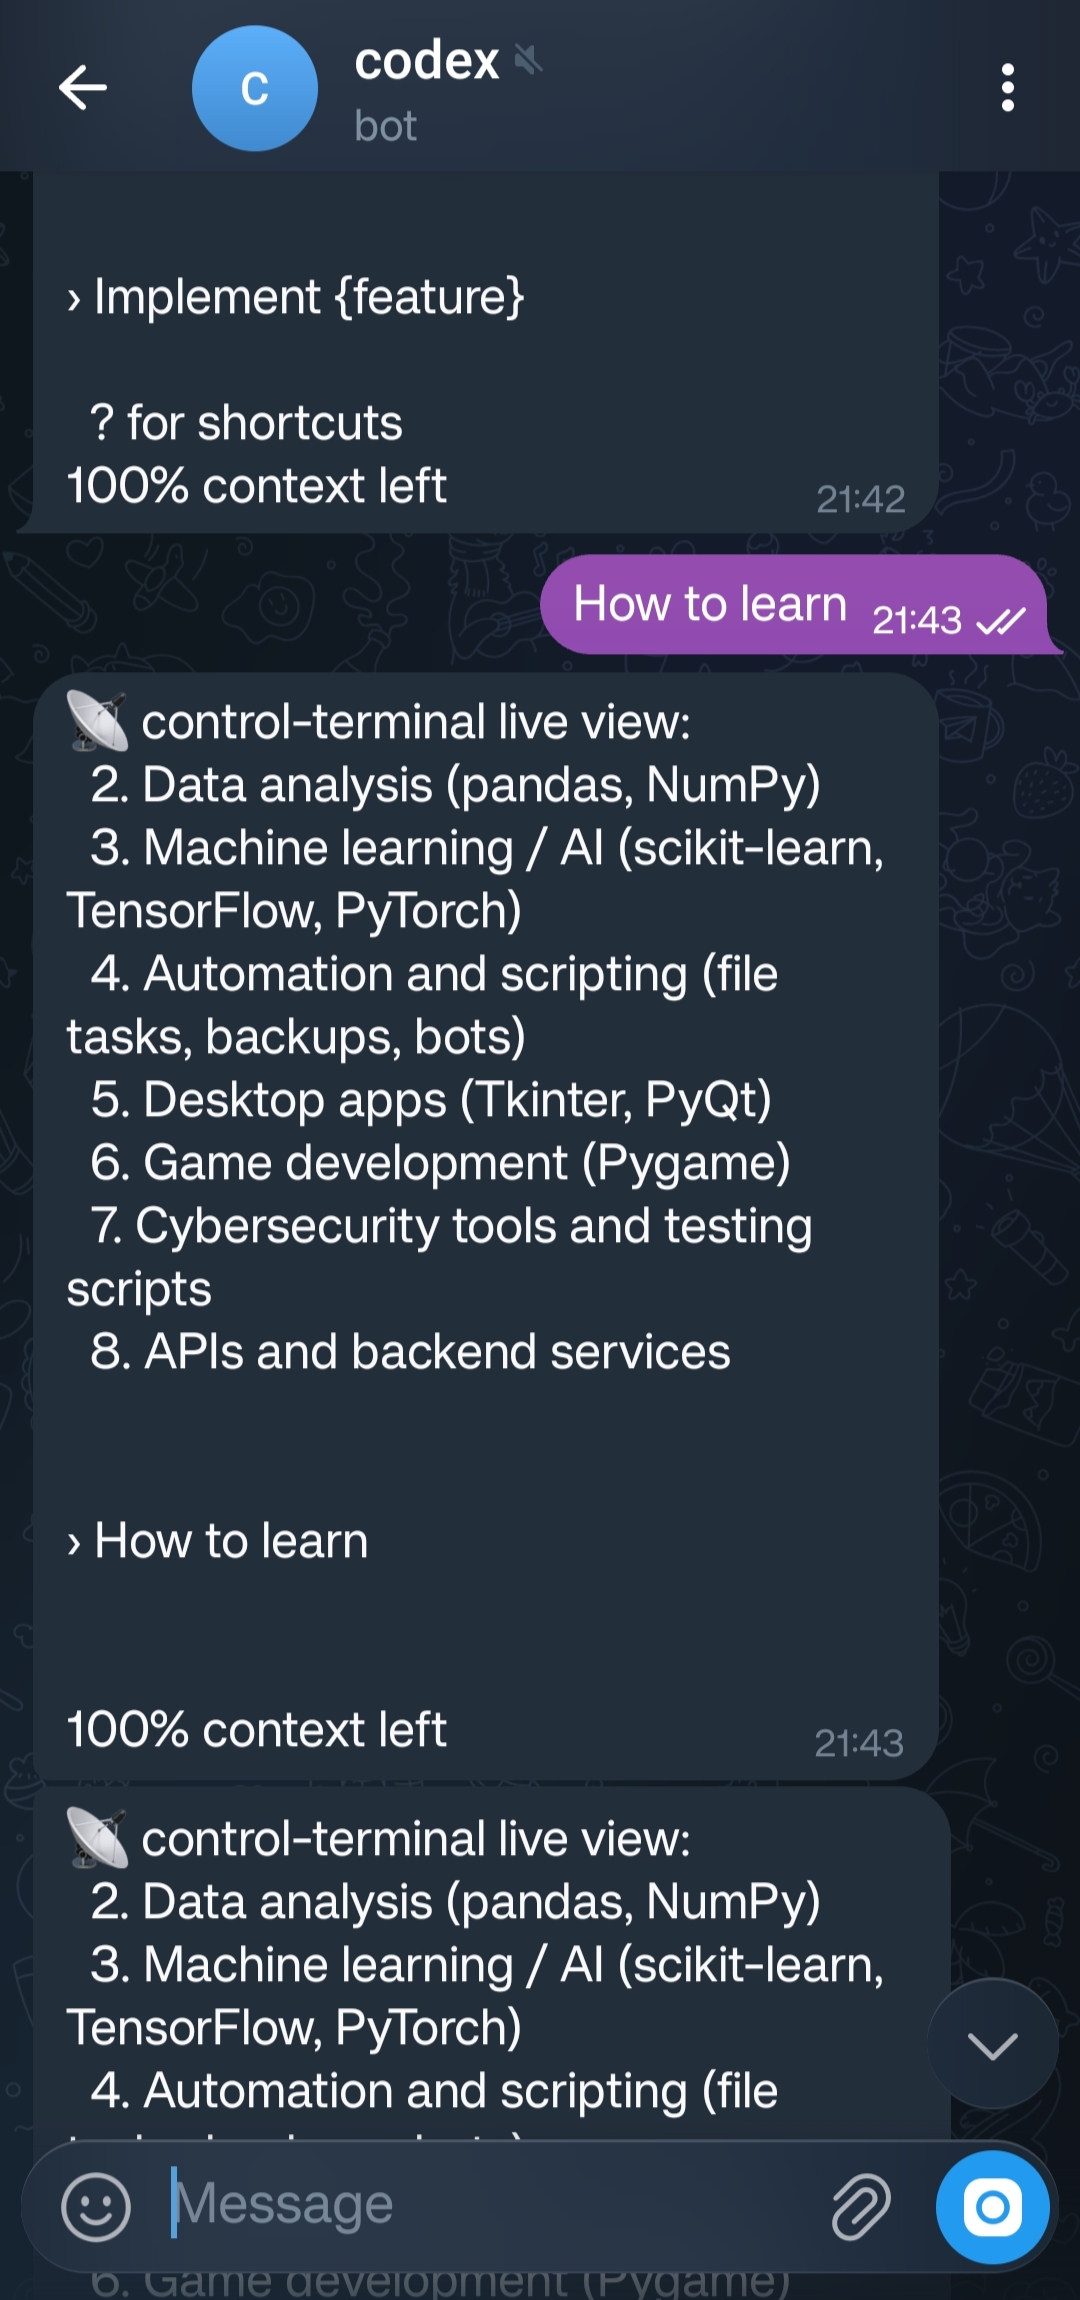
Control from Your Telegram
Open the chat on your telegram. It is fully interactive:type prompts, approve actions, and manage your agent from anywhere. If your connection drops, reconnect without losing progress.
Quick Start
Two commands to get up and running.
curl -fsSL https://raw.githubusercontent.com/kumar045/Control-PC-Terminal/main/install.sh | bashcontrol-terminalAgent Selection
After running the command, you will be prompted to choose an agent:
Choose which agent to run:
1) codex
2) claude
3) other
After selecting, Control-Terminal starts the agent in a tmux session, exposes it via ttyd at http://localhost:7681, and optionally creates a Cloudflare tunnel for remote access.
Authentication
Protect your web terminal with browser-level login. Set a username and password so only you can access your agent session.
Browser Login Enforced
When authentication is enabled, the browser will prompt for credentials before granting access to the terminal.
How to Enable
During setup, Control-Terminal will prompt you to set a username and password. These credentials are used by ttyd to enforce HTTP Basic Authentication on the web terminal.
Set authentication for web terminal:
Username: your_username
Password: ********
Authentication enabled. Browser login required.
Once set, anyone opening the terminal URL (local or via Cloudflare tunnel) will see a browser login dialog. Only users with the correct credentials can access the session.
Secure Remote Access
Even when exposed via a public Cloudflare tunnel URL, your terminal is protected behind a login wall.
User-Defined Credentials
You choose your own username and password during setup. No third-party accounts or tokens required.
OS Support
Control-Terminal runs on Linux natively and on Windows through WSL.
Linux
Supported directly. Install and run Control-Terminal on any Linux distribution — no extra setup required.
Windows
Use WSL (Windows Subsystem for Linux) and run Control-Terminal inside your WSL distro.